A few years back I decided it was time to make my backyard functional for my family. I needed more open space for my daughter to run around and better flow. Flower beds needed to be moved, the yard needed to be graded and patios needed to be created. It was a lot of work but now that the flowers are growing in and the grass has taken route it was worth it.
First step was to remove the old grass and weeds! I also removed the patio blocks where the fire pit sat. I treated underneath the patio blocks for red ants!
Once the grass had died I rented a sod lifter and pulled it up in strips. I then rolled up all of the dead grass and hauled it to the waste facility. This was a dirty job! The sod lifter was super easy to operate and cheap to rent from Home Depot.
Once I had a majority of the dead grass removed I began grading the back yard. Before I began laying down the fresh top soil I measured out where I wanted my two patios along the fence as well as my three flower beds. I framed one of the flower beds out as I was grading the back yard.
Once the yard was graded I layed the sod down and then went away on vacation for a week. I set the sprinklers to water the lawn a LOT while I was gone and gave it a chance to take hold before anyone walked or played on it.
Upon returning from vacation I began working on the two small patios. The back one didn't take much digging down since the back portion of the yard needed to be raised so much. I had enough room for the gravel and the bricks. The front one needed some digging down.
To tamp down the gravel in the patio I rented this tamper from Home Depot. Fairly easy to use but VERY heavy. Once the patios were measured and frames the pattern of the bricks was figured out.
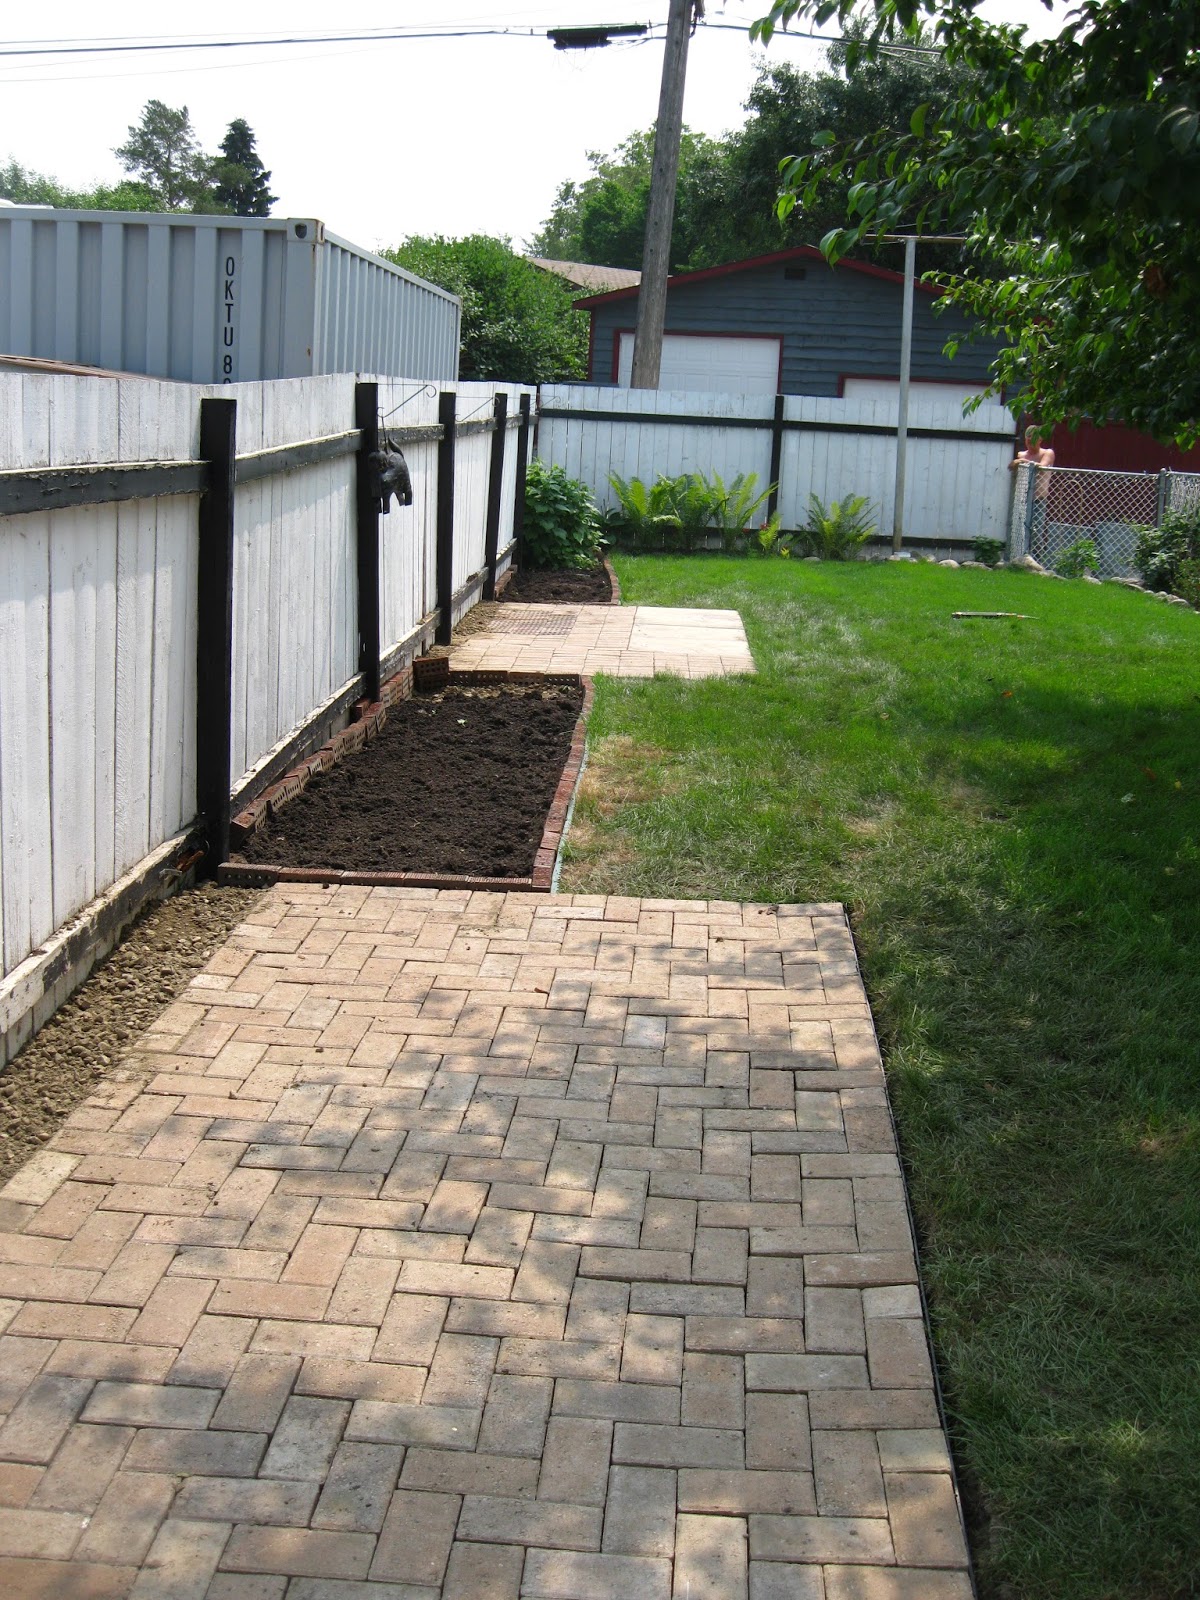
In hindsight I would have layed the frames of the patios under the grass to prevent the slight lip at the edge. But overall it worked very well. I also framed out the flower beds with black edging and bricks. I used some of the extra top soil to build up the flower beds. I added some peat moss to the soil to make it better for perennial flowers.
Upon completion of the laying the patio bricks there was filling sand brushed in between the spaces. In the bottom picture the grass took quite a beating from us walking on it while building the patios. It bounced back nicely the next summer. The sanding in between the bricks also needs to be done every summer as it settles in.
The last two photos are from the following summer. The grass has taken nicely and the patios have stayed nice and sturdy.