This was my backyard before. I had already taken out the flower beds that were at the front of the yard. I had also taken out the 4 patio blocks from the center of the yard which is where the firepit was located. I found the yard was very broken up and didn't flow well.

This was the view from the back to the front BEFORE. The grass is so brown because I killed it all. It was also full
of weeds.
After the grass all died I rented a sod lifter and cut all of it out. You can somewhat see the rows of pulled up grass and the sod lifter to the right. I rented mine from Home Depot. It was the smaller version and I had no issue using it on my own.

My first flower bed created was along the fence. I had a lot of river rocks in my yard when I bought the house. They were randomly placed so I moved them to create a border. Before the rocks were placed I used the black bed border which I had to dig down to place in.


It turned out quite nice.

My next step was leveling out the yard. I ordered 5 yards of top soil and used a wheel barrow to haul it in. The back left corner of the yard was really low.

Once the yard was leveled out I layed down the sod. It was still a little low in the corner and I did end up adding more soil. I left the spaces on the left open because that is where I am putting patios and flower beds. I left the sod undisturbed and watered it for a week.

Next, I placed in the edging for the flower beds and then the patios.


Once the borders for the flower beds were in place and measured out, I layed down the gravel. I rented a tamper from Home Depot to really pack it down.

Now that the gravel mix was well tamped down I put in the brick border and decided on the pattern I wanted for my patio. Looking back I should have dug down a little deeper so that I could have layed another layer of gravel down on top of the border.

I then put down a layer of sand and placed the bricks in the pattern I had chosen. I used sand to get them as even as I could. As you can tell it wasn't perfect but it worked for me.

I filled in the empty space behind the patios with gravel. On the second patio I used a few of the large paving stones. It allowed a space for my daughter to use her sidewalk chalk.
I also placed bricks to add to the edging of the flower beds. I used some of the top soil for the flower beds.

I absolutely love the outcome!!!


 This was the view from the back to the front BEFORE. The grass is so brown because I killed it all. It was also full


 My next step was leveling out the yard. I ordered 5 yards of top soil and used a wheel barrow to haul it in. The back left corner of the yard was really low.


 I then put down a layer of sand and placed the bricks in the pattern I had chosen. I used sand to get them as even as I could. As you can tell it wasn't perfect but it worked for me.


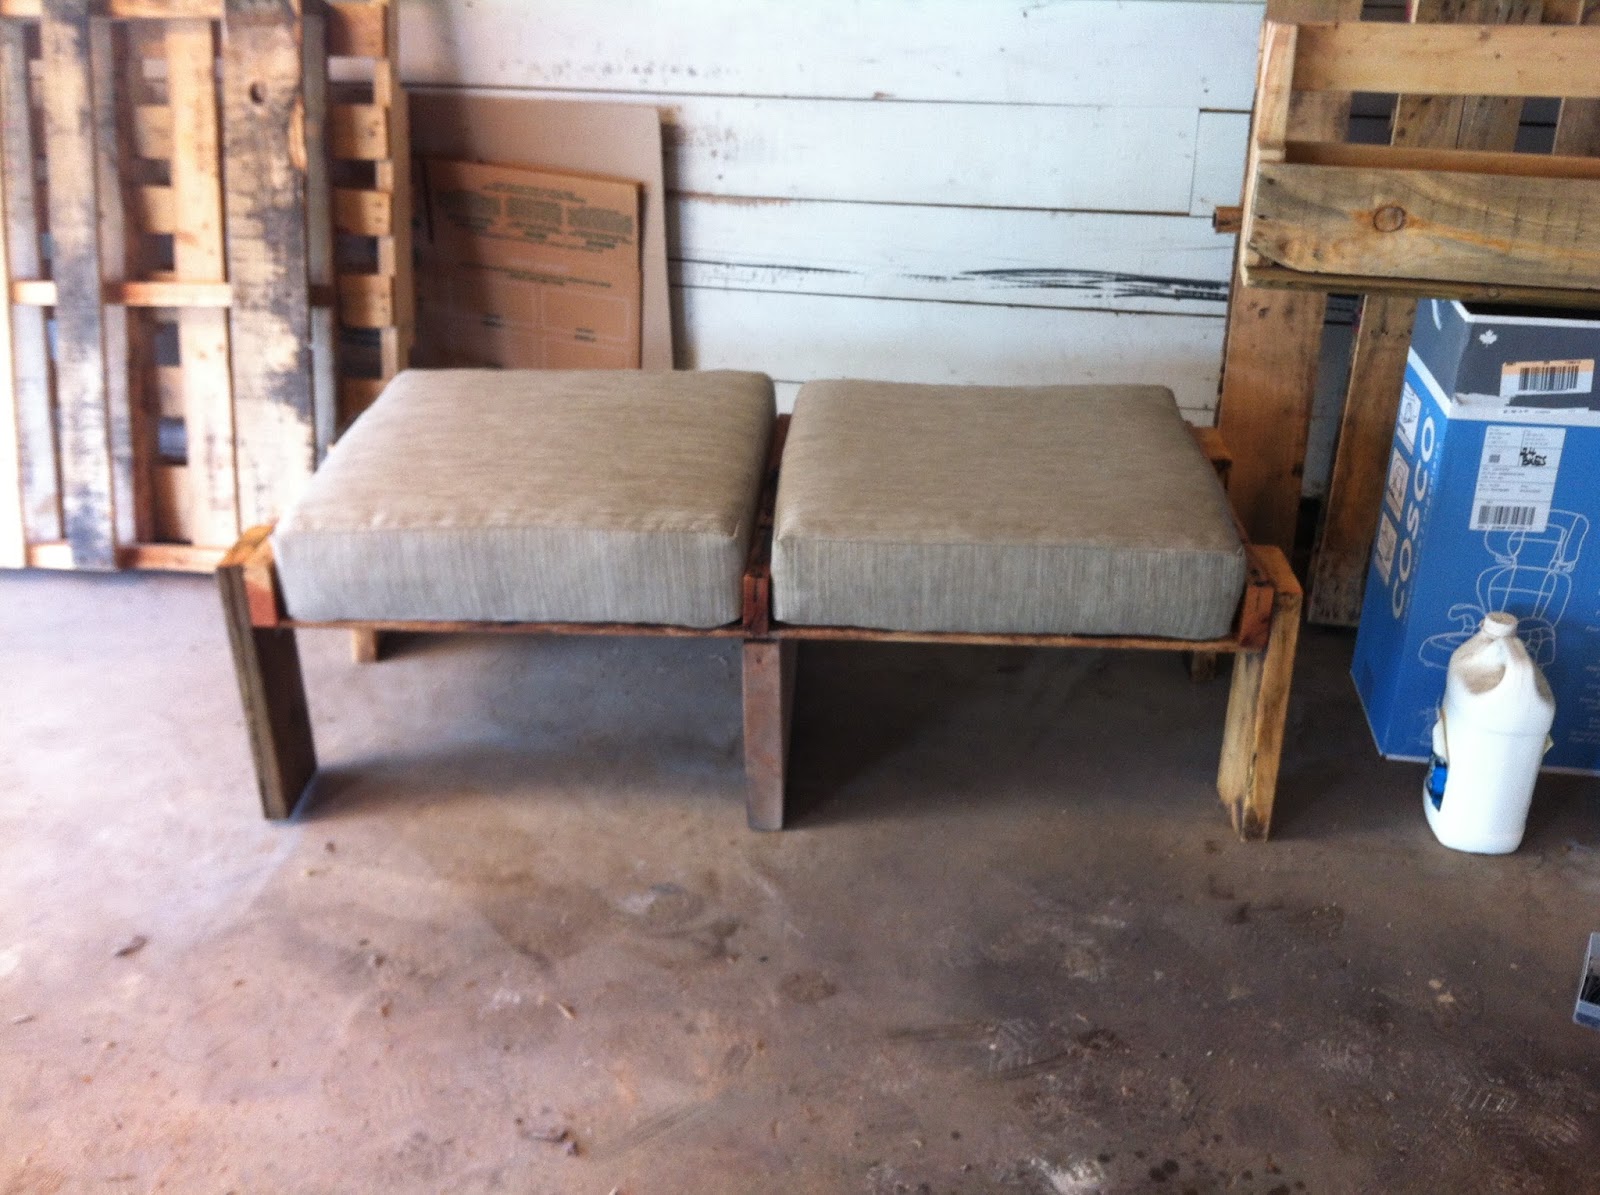
 After building my bench I needed an ottoman to sit in front of it! I used the remainder of the wider pallet. I added legs to the center and the sides. I braced the leg in the middle with square brackets.


