Thursday, 14 August 2014

Pickles for Beginners

 Some of my friends are interested in pickling.  It took me a few tries to get it right.  Here is to help you get it right the first time!


Wash jars in hot soapy water.  Then either boil the jars or run through dishwasher, on hot hot cycle with no soap.  You can also put the lids in the dishwasher too to ensure they are sterilized.
If you didn't know....there are three sizes of jars lids:  mason (the smaller ones, left side of picture), GEM (slightly bigger), and wide mouth (larger, right side of picture).

Make sure you have lids for jars before going any further!

This recipe was given to me by my mother....from her parents.....

In EACH jar put: some dill weed (yellow parts too), 1 clove garlic (more or less depending on your taste), 1 tbsp of chopped onion. 

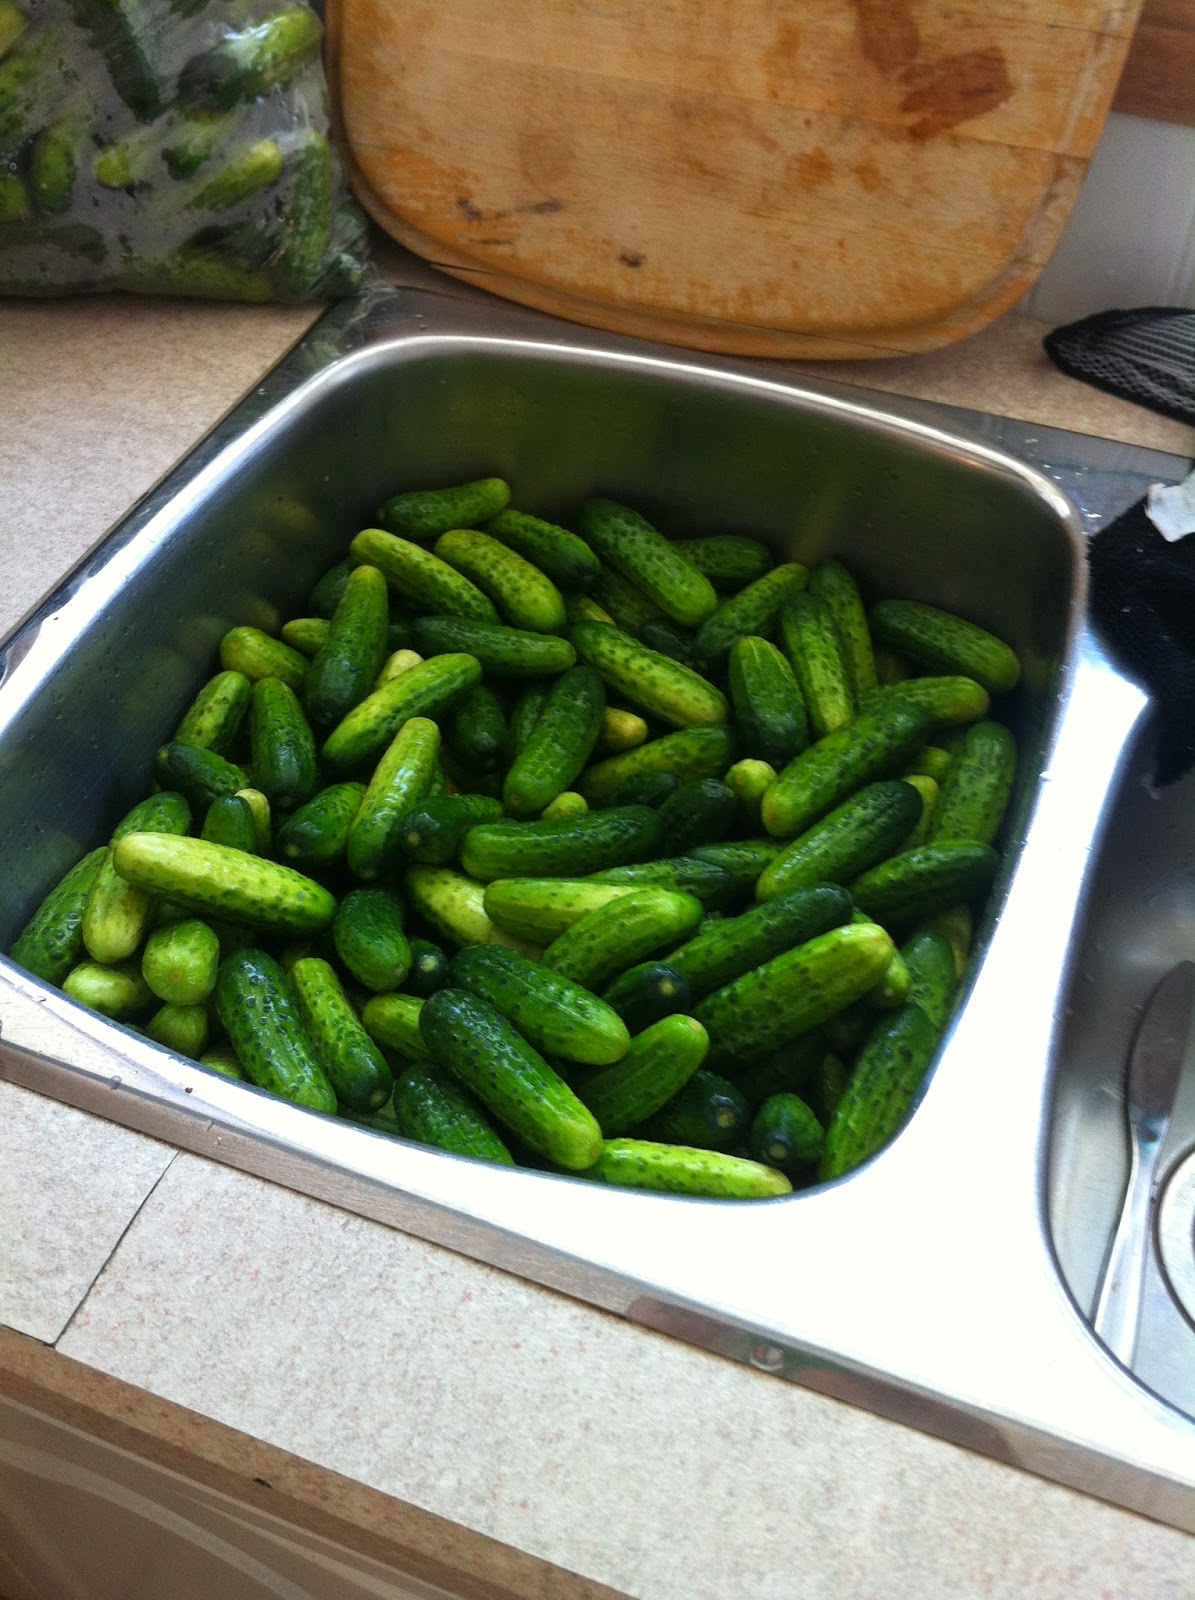
Ensure cucumbers are washed.  Poke each of them with a fork 1-2 times (depending on the size)
Stuff the jars REALLY full with cucumbers.  Your thumbs will be sore!  You can see we also did some beans and carrots also.

For the brine: 1L pickling vinegar, 3L water, 1c pickling salt, 1/2c sugar.  Bring to a boil.

****You MUST use pickling vinegar because it is more concentrated. Pickling salt doesn't have iodine in it!****

For the jars seen above (3 bags of cucumbers, 30lbs) I used 3 batches of brine.

Pour the hot brine over the pickles to just below the rim of the jar (about 3-5cm).  Place the lids on to a tightness of just closed.  Do not tighten so the lids will seal.

If the lids do not seal (you should hear popping sounds!), then place the jars in a pressure cooker or pot of boiling water to heat up.  This will help them to seal.
Good luck.


Show Girl Costumes


 Again my company hosted a costume party....this time wedding themed....so my group dressed up as a Vegas wedding chapel complete with show girl bridesmaids.   Costumes to purchased were ridiculous!!!
The Feather Bustle:


I purchased 100 ostrich feathers from Kijiji.  Someone had used them in their wedding decorations and no longer needed them.  I also purchased some black mesh from Michaels.  I weaved the feathers into the mesh instead of sewing them in case I needed to move some after the skirt was on.  It worked great and none of them fell out during the evening.  About 4 layers of the feathers was enough.
Under the skirt we wore booty shorts and the feather bustle was pinned to the shorts

The Feather Headdress:


For the headdress I bought a foam visor (the kids section) from Michaels.  I also bought a cheap plastic head band from there too (wider works better).  I painted the visor with some black sparkly paint.  Then my friend and I glued gems to the visor with some craft glue (some gems come with sticky backs)
Then we hot glued the visor to the head bands. Place the head band on your head and fit it to your head.  Only the two ends of the visor will be glued to the head band.  The middle will be bowed out to sit forward on your head.
Once the visor is secured we then glued feathers to the  back.  This process takes a while because we needed to find feathers that fit around nicely.  We added colored feathers for punch.

The Feather Fan:

I purchased a cheap bamboo fan.  I peeled off the paper that was on the fan.  Then I hot glued the black feathers onto each arm of the fan.  Then added the purple feathers to hide the ugly ends of the black ones.  You can't close the fans but they add to the costume.

The Corset, Nylons and Shoes
We purchased nylons from the dance store.  We wore nude ones underneath the fishnet.  We purchased cheap corsets online.  We each had neutral shoes to wear.  Our booty shorts we purchased from the costume store but you can get them a lot of different places.


Monday, 11 August 2014

Pan Am Costumes

A few years ago my company hosted a staff party with a 60's theme......since Pan Am started in the 60's we dressed up as the crew.  Top buy costumes would have been expensive and we couldn't guarantee they would show up on time.  So I, with the help of my friends, threw together the above costumes.

The Hat:


I cut out the pieces using the above pattern, I cut about 1cm outside of the pattern to leave room for stitching and gluing.   I stitched the brim and the top together, adding a bit of white along the top.  I cut out the same size posterboard piece for the brim.  I glued the poster board into the brim. I then cut out two of the little embellishment pieces and stitched them together with some white.  I stitched them on to the hat.  A card board piece was cut out for the "pin" and painted with gold fingernail polish.

The Skirt:

Each skirt was custom made for the girl that wore it.  I simply used a skirt I already had and cut out pieces that match it.  The material that I bought had a bit of a stretch to it which helped with the forgiveness in the poor sewing job!

The Bag:

I cut out to rectangle shaped pieces for the sides and a long rectangle piece that fits in between them.  You can change the width to your liking.  I also cut two long rectangles for handles.  I stuffed my handles with batting but the other girls didn't and they looked great either way. 
The inside of the bag is lined with poster board and glued into place to allow the bag to keep its shape.  The logos were printed on an iron-on fabric and added to the bag.  When stitching the bag together, sew the handles on first, then iron-on the logo, then sew the sides together!

The Shirt, Gloves, and Jacket:


For the gloves, I purchased the long Halloween gloves and cut them to be just past the wrists.
The skirt and jacket were purchased.  We bought cheap white button up shirts from Smart Set.  We luckily found light blue jackets that buttoned in the front. (I can't remember where)  We bought costume flight pins from a costume place and painted them with gold nail polish.
We all wore black pumps and of course neutral pantyhose.


Sunday, 10 August 2014

Preschooler Kitchen


My daughter always loved playing in her friend's kitchens.  I just wasn't wanting to spend the big $$$ to buy one.  So I re-purposed an entertainment center.  I got the idea from Pinterest.

I bought the original one from the Habitat for Humanity Restore for $35.


This is what it looked like with doors off and drawers out.  I then cut the TV enclosure off to make it more roomy and less heavy!
Then I cut a hole in the flat top the size of a cake pan that would act as a sink.
I filled the track that the roller door slid in with wood filler.  I also sanded it and primed the entire thing.

I placed the shelf in the tall part to separate the "oven" portion and the "fridge" portion of the kitchen.  For the doors of the oven and fridge I picked up some spare cabinet doors and cut them down to size.  I also purchased mismatched handles for all of the doors and drawers at the restore.
For the "oven" door I got a cabinet door and had a windowed look to it.  In the center portion I put a textured shelf liner.  It makes the door look like a window.
I also put the shelf liner on the flat surface to make it more waterproof since there is a sink in there!  To ensure that it stayed down I used clear craft glue.

I also ensured that I let my daughter help me with the construction.  She was pretty excited for it to be done.
Once it was painted and put together I then added the handles.
I eventually added a small, used bathroom faucet.  Of course it is simply for show.

I tried to add magnetic paint to the sides of the kitchen but I couldn't get it thick enough to really work.  Next time I would simply just glue a thin metal sheet or a whiteboard to the sides.


Queen Bed Frame #1


This is where it all started.  I made myself a bed frame because I was too poor at the time to buy something similar!  
This is the beginning of my design.  I made it so that the boxspring would sit inside of the frame and be mostly hidden.  The mattress would then sit on top.  The overall height of the bed itself would depend on the thickness of the mattress that you have.

Here are the rest of the design layout pages.  I had to do the measurements in inches because that is how one buys lumber!!!!


Once I had the designs finalized I went to the hardware store and asked for some help choosing my lumber.  You will need a truck or have the store cut some of the pieces to size for you.  Once I got it home I cut out all of the pieces.  Some of the cuts would have been easier if I had better tools!
I did all the cutting in my basement!
I then did sort of a dry run for the assembly to make sure the pieces all fit together!  I did end up putting the feet of the bed on upside down to start with.....I eventually realized how ridiculous it looked and changed it around!


I then stained the pieces before I put it together because I had to assemble it in my bedroom!

I used screws to assemble the bed.  Once it was put together I then used some flat and corner braces (metal ones) to stabilize the bed.  I also put a leg under the middle box spring brace to make the bed sturdier.  This bed cost me about $150 in lumber, plus stain.  It is 10 years old this year (2014) and still works great.